19. Bookmarks, Selection Pane, Buttons and Navigation
19.8 Building a Side Navigation Menu
Start with a problem
Rani wants a left-side menu on every page, like a web app, with the current page highlighted.
Explain simply
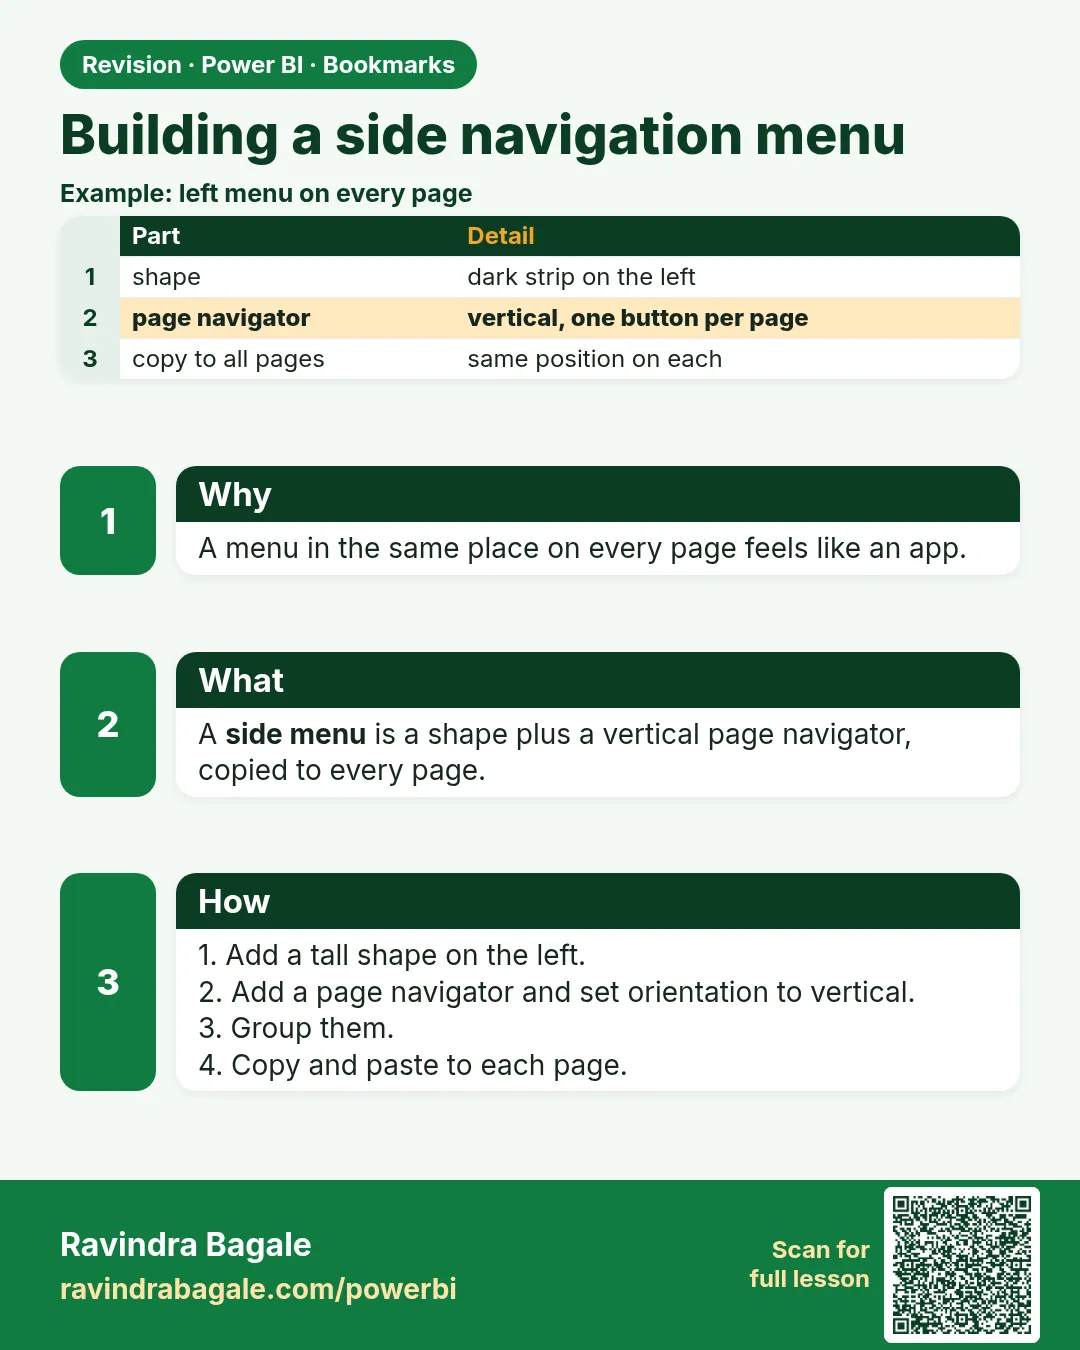
Build a vertical page navigator inside a side bar shape, format the selected state, then copy it to every page.
Show the data
| Element | Setting |
|---|---|
| Shape | Rectangle, full height, dark colour |
| Page navigator | Vertical, 4 buttons |
| Selected state | Yellow fill, bold text |
About this data: This table uses columns: Element, Setting. This table uses columns: Page open, Highlighted button. This table uses columns: Wrong result, Reason, Correction. Values shown are the lesson examples already on this page (not a new dataset).
Fictional sample data. Practice file: visuals_orders_apr_may_2026.csv (source: src/practice/).
Demonstrate
- Insert a tall rectangle on the left (width about 160 px).
- Insert › Buttons › Navigator › Page navigator › Orientation Vertical.
- Format › Style › Apply settings to: Selected › fill yellow, text bold.
- Group shape + navigator; copy and paste the group onto every page (same position).
- Test on each page.
Show the result
Your result should look like this (fictional sample):
| Page open | Highlighted button |
|---|---|
| Overview | Overview |
| Delivery | Delivery |
Explain what happened
The navigator knows which page is active and applies the Selected style to its button.
Explore further
- Leave space on each page so visuals do not sit under the menu.
Detailed reference for this lesson:
Steps in Power BI
- On the Executive Overview page, insert a tall rectangle on the left (dark colour, e.g. #252423), width about 120 px.
- Insert a Page navigator, and set Orientation Vertical. Hide the tooltip and drill-through pages from it. Place it on the rectangle.
- Style: Default state white text, transparent fill; Selected state yellow fill (#F2C811) with dark text; On hover light grey.
- Add the report title/logo at the top and a small text box at the bottom: "Data: fictional Blinkit & Amazon Now sample".
- Select the rectangle + navigator + logo › Ctrl + G › Menu. Copy the group (Ctrl + C) and paste (Ctrl + V) onto every page. Power BI asks whether to sync it (do not sync bookmark visuals by mistake).
- Test in Reading view or with Ctrl + click.
Tip
With a page navigator, the menu updates automatically when you add or rename pages. Hand-made buttons with Page navigation actions do not.
Practice task
Build a 4-page report (Executive, Delivery, Customers & Products, Blinkit vs Amazon Now) with a vertical page navigator menu, a chart/table toggle on the Delivery page, a Reset button and a show/hide filter panel on the Executive page.
Ravindra Bagale's Tip
A common side-menu mistake is placing the menu slightly differently on each page, so it "jumps" when users navigate. Build it once, group it, then copy and paste it to every page so the position is identical. Highlight the current page's button so users know where they are. It's very simple – just make it a habit.
Ravindra Bagale's Tip – मराठी
Side menu मधली एक common चूक म्हणजे प्रत्येक page वर menu थोडा वेगळ्या जागी ठेवणं, त्यामुळे users navigate करताना तो "उडी मारतो". एकदाच बनवा, group करा, मग प्रत्येक page वर copy-paste करा म्हणजे जागा अगदी सारखी राहील. Current page चं button highlight करा म्हणजे users ना कळेल ते कुठे आहेत. एकदम simple आहे, फक्त सवय लावून घ्या.
Ravindra Bagale's Tip – हिंदी
Side menu की एक common गलती है हर page पर menu को थोड़ा अलग जगह रखना, जिससे users के navigate करते समय वह "उछलता" है. एक बार बनाओ, group करो, फिर हर page पर copy-paste करो ताकि जगह बिल्कुल एक जैसी रहे. Current page का button highlight करो ताकि users को पता रहे वे कहाँ हैं. बहुत आसान है, बस आदत बना लो.
Fix common mistakes
| Wrong result | Reason | Correction |
|---|---|---|
| Menu jumps position between pages | Pasted manually | Paste with Ctrl + V at same position; check X/Y in Format |
| All buttons look the same | Selected style not set | Format Selected state |
| Menu covers visuals | Canvas layout | Reserve the left area on every page |
Practise independently
Practice task
What changes if you rename the Delivery page to Delivery speed?
Hints
- Navigator reads page names.
Solution
The button text updates automatically to Delivery speed.
Think like a professional
Consistent navigation makes a report feel like a product. Recruiters often judge portfolios on this polish.
Thodkyaat sangaycha tar (quick recap)
Choose what a bookmark saves (Data, Display, Current page), give every object a name, and do not forget to click Update after a change. Now let us move on to dynamic text and colour.
Bookmark काय save करतो (Data, Display, Current page) ते निवडा, प्रत्येक object ला नाव द्या, आणि बदल केल्यावर Update करायला विसरू नका. आता पुढे जाऊया dynamic text आणि colour कडे.
Bookmark क्या save करता है (Data, Display, Current page) वह चुनिए, हर object को नाम दीजिए, और बदलाव के बाद Update करना मत भूलिए. अब आगे बढ़ते हैं dynamic text और colour की ओर.
 Revision card